E.L.F.'S BEST MAKEUP SPONGES FAQs
Multi-purpose makeup sponges & makeup tools help you apply & blend your makeup like a pro.
The best makeup sponge comes in different shapes, sizes, and a few different forms including being latex-free or silicone. It all depends on your personal preference and what your makeup needs are. Experiment with the different types to see what works best for you and your makeup routine.
-
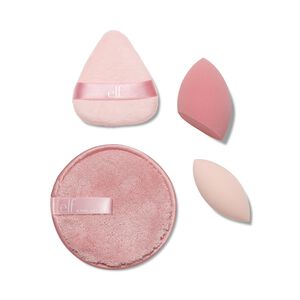
Blending sponge: This is the most popular sponge. It has a round bottom with a tapered top. The round base is perfect to apply foundation for larger areas and the pointed tip helps apply makeup for hard-to-reach areas, like around your nose and eyes.
-
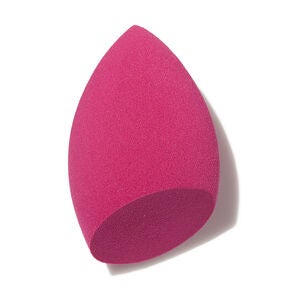
Wedge sponge: This is the classic makeup sponge. The flat edge is helpful to create a sharp line or edge with a smooth finish. Great for contouring and applying highlighter.
-
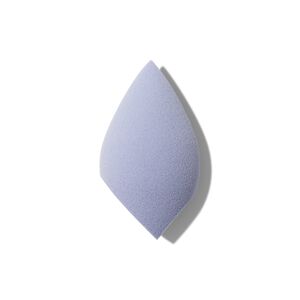
Concealer sponge: Used primarily for applying and blending concealer to hard-to-reach areas. While the narrow tip works for detail, contouring, and setting powder under your eyes.
Makeup sponges can be used both wet and dry. It depends on how you apply your makeup and your desired finish.
-
Wet: To use your makeup sponge wet, first saturate it with water and then squeeze out the excess moisture. The sponge should be damp. Wetting the sponge expands its size making it softer which allows for a more natural and sheer application of both liquid and cream makeup. They can also help provide a dewy and radiant finish adding a slight glow to your skin.
-
Dry: Using a makeup sponge dry is perfect for applying powdered makeup like setting powder and powder blush. A dry sponge provides more control over applying your makeup and helps set it in place with more of a matte finish.
A streak-free, stunning face makeup application all starts with a beauty sponge—and using the right technique.
-
Always start with freshly cleansed and moisturized skin.
-
Dampen your sponge and gently ring out excess water for smoother application.
-
Apply foundation to the back of your hand helping to control the amount of foundation you apply.
-
Dab the foundation to the areas of your face where you want coverage.
-
Blend your foundation with gentle bouncing and stippling motion with your damp sponge. This helps with even coverage and a natural finish. Avoid dragging to prevent streaks.
-
If you need more coverage in certain areas, layer additional foundation to those spots and blend.
-
Use the pointed tip of the sponge for more control in delicate areas like the eyes or nose
-
Pay attention to blending out foundation at the edges like the jawline and hairline to avoid visible lines.
Face makeup sponges are a must-have tool for applying and blending your favorite liquid and cream makeup. Cleaning your makeup sponge is very simple. If you have a makeup sponge cleaner use that, but if you don’t you can still clean your sponges with a mild soap.
-
Wet sponge thoroughly under running water.
-
Apply a small amount of mild soap or cleanser.
-
Gently massage soap into makeup sponge.
-
Rinse thoroughly under running water, squeezing and massaging to remove all soap. Repeat until the water is clear.
-
Let the sponge completely dry before using it again.
Even with cleaning your sponge regularly, you should replace your makeup sponge every one-to-three months. It is important to keep it in a clean, dry place between uses. With daily use, face sponges can pick up bacteria and hold onto old liquid makeup. So, it's important to replace your sponges frequently in order to protect your skin from breakouts and irritation.
Read more about e.l.f.'s Makeup Sponges and How to Use Them
